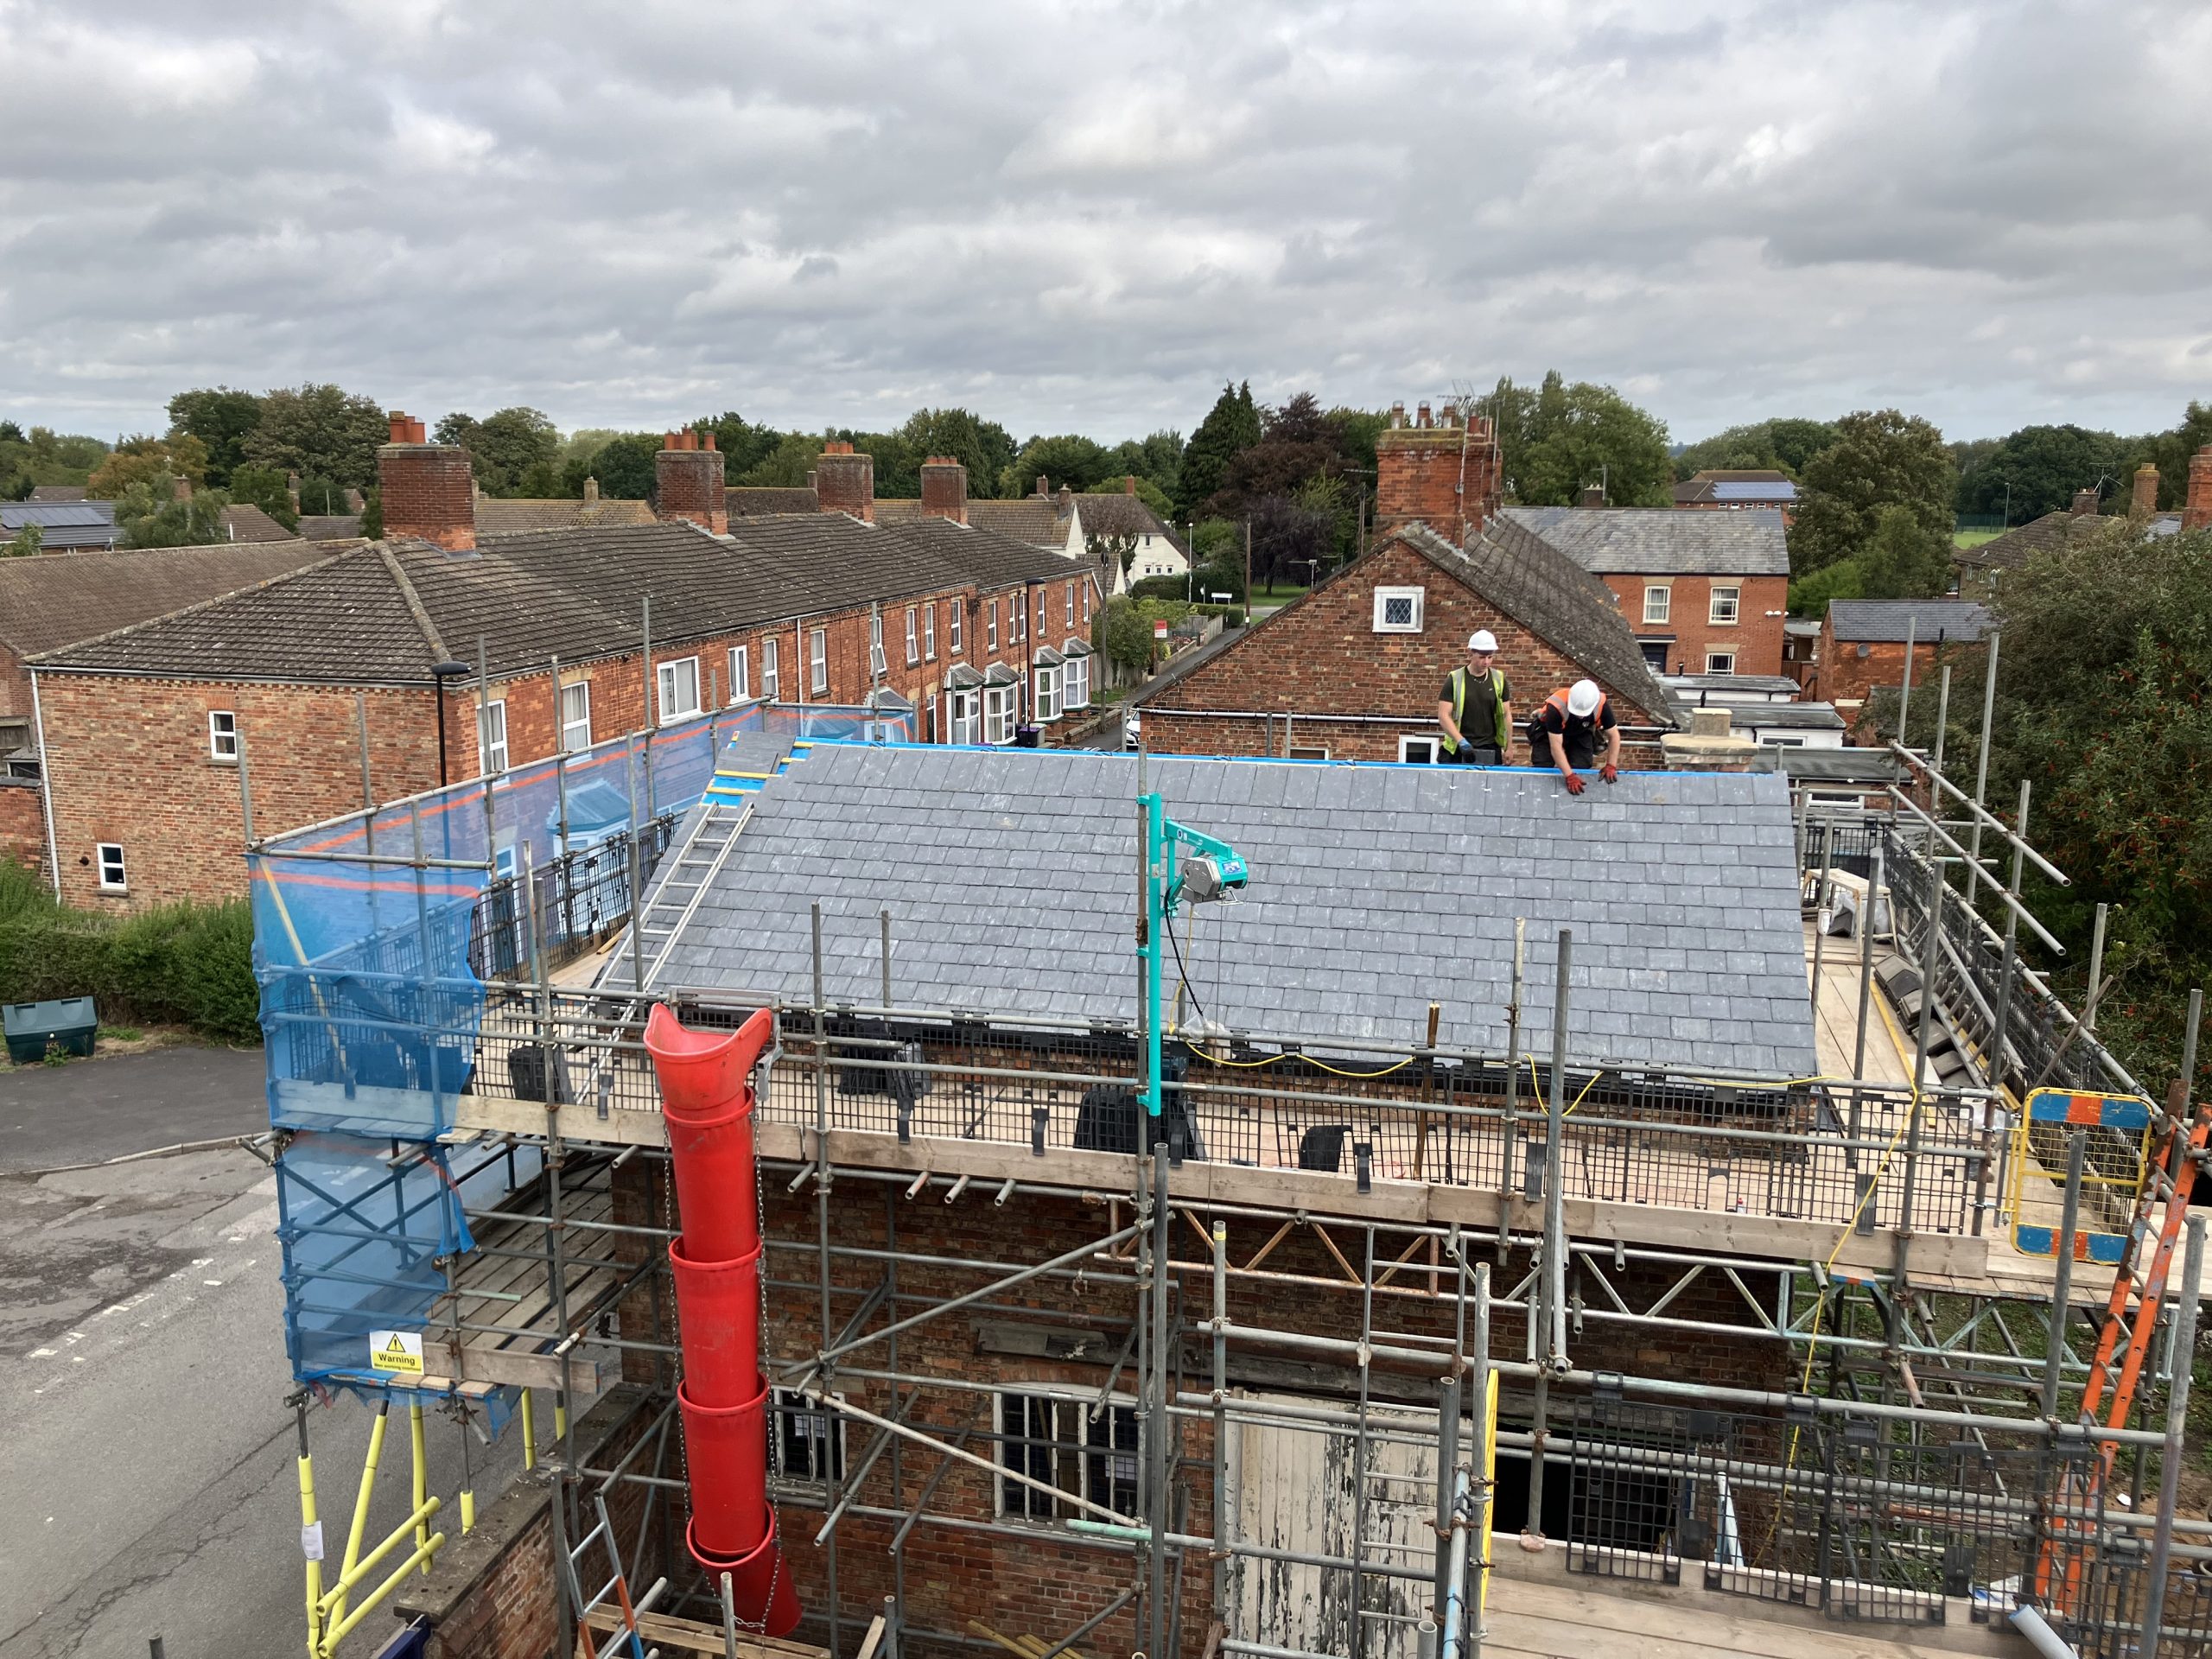
Essential roofing works have begun at Spilsby Sessions House. These repairs will help weatherproof the building as we move into Winter to allow temperatures to regulate throughout the building and prevent further damage to the building.
Repairing a timber-framed roof and re-slating is a complex process that requires expertise in both carpentry and roofing. The process can be broken down into two main stages: repairing the timber structure and then re-slating the roof.
Stage 1: Repairing Timber Roofing Components
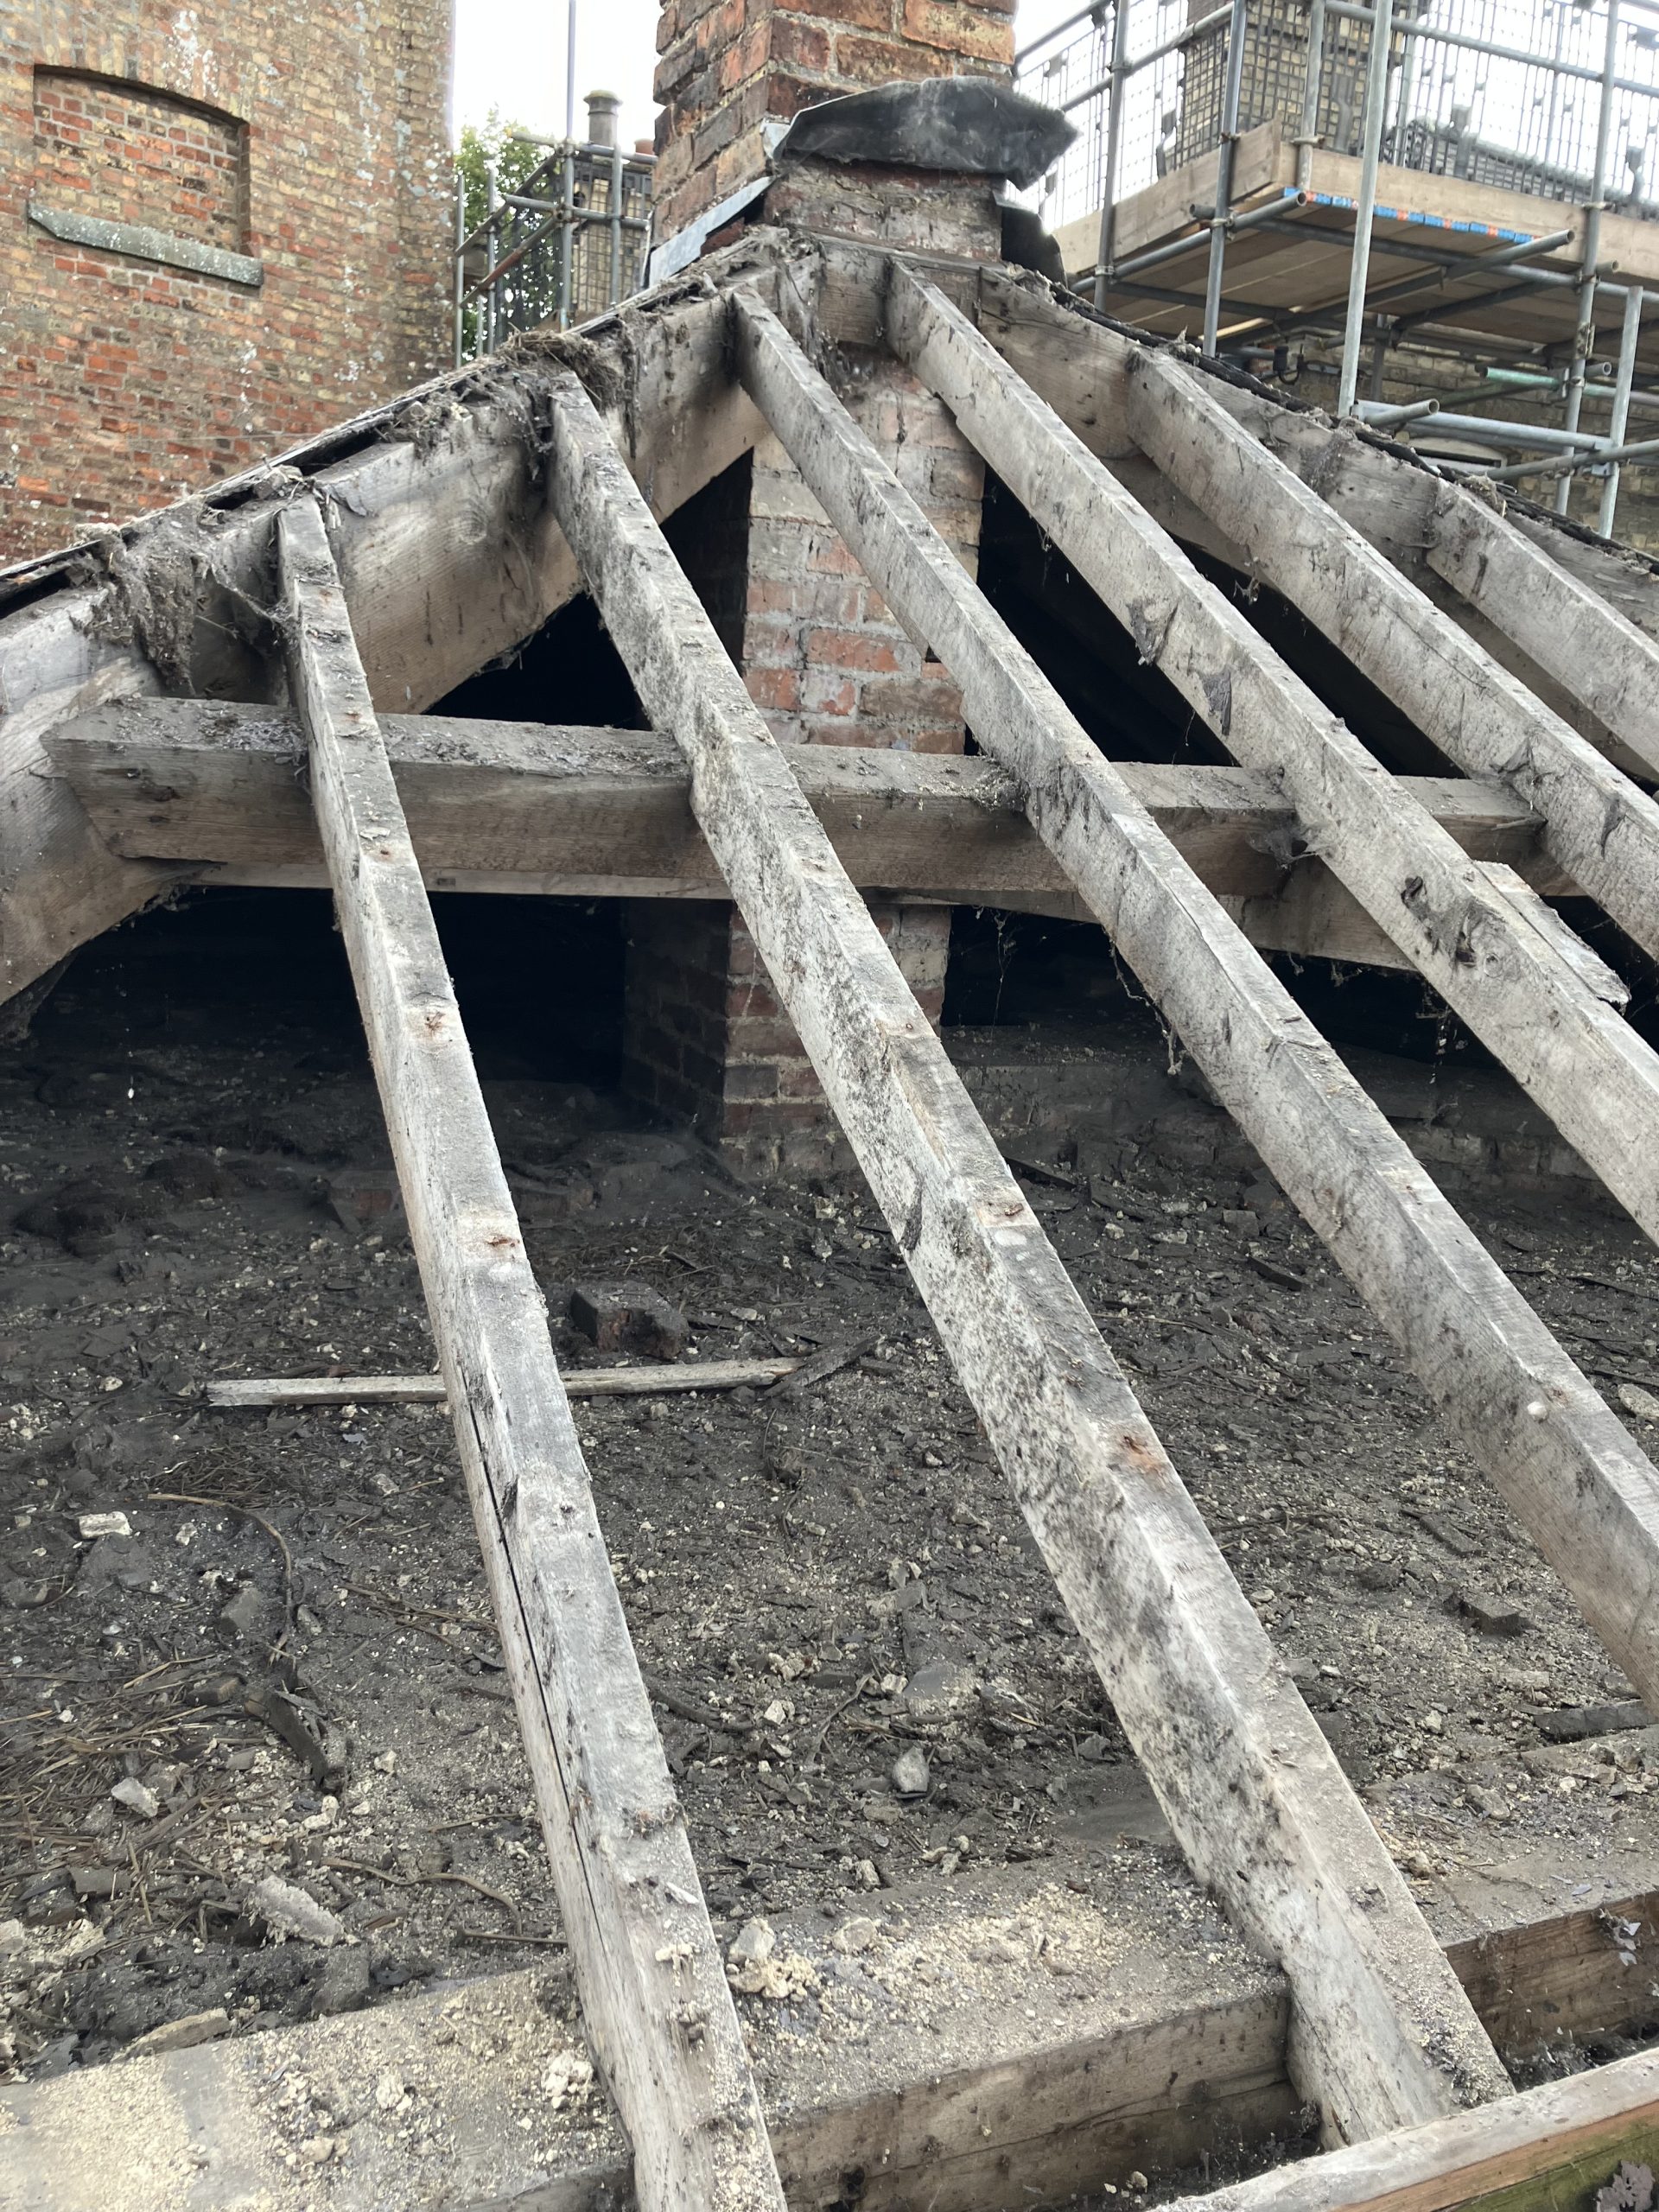
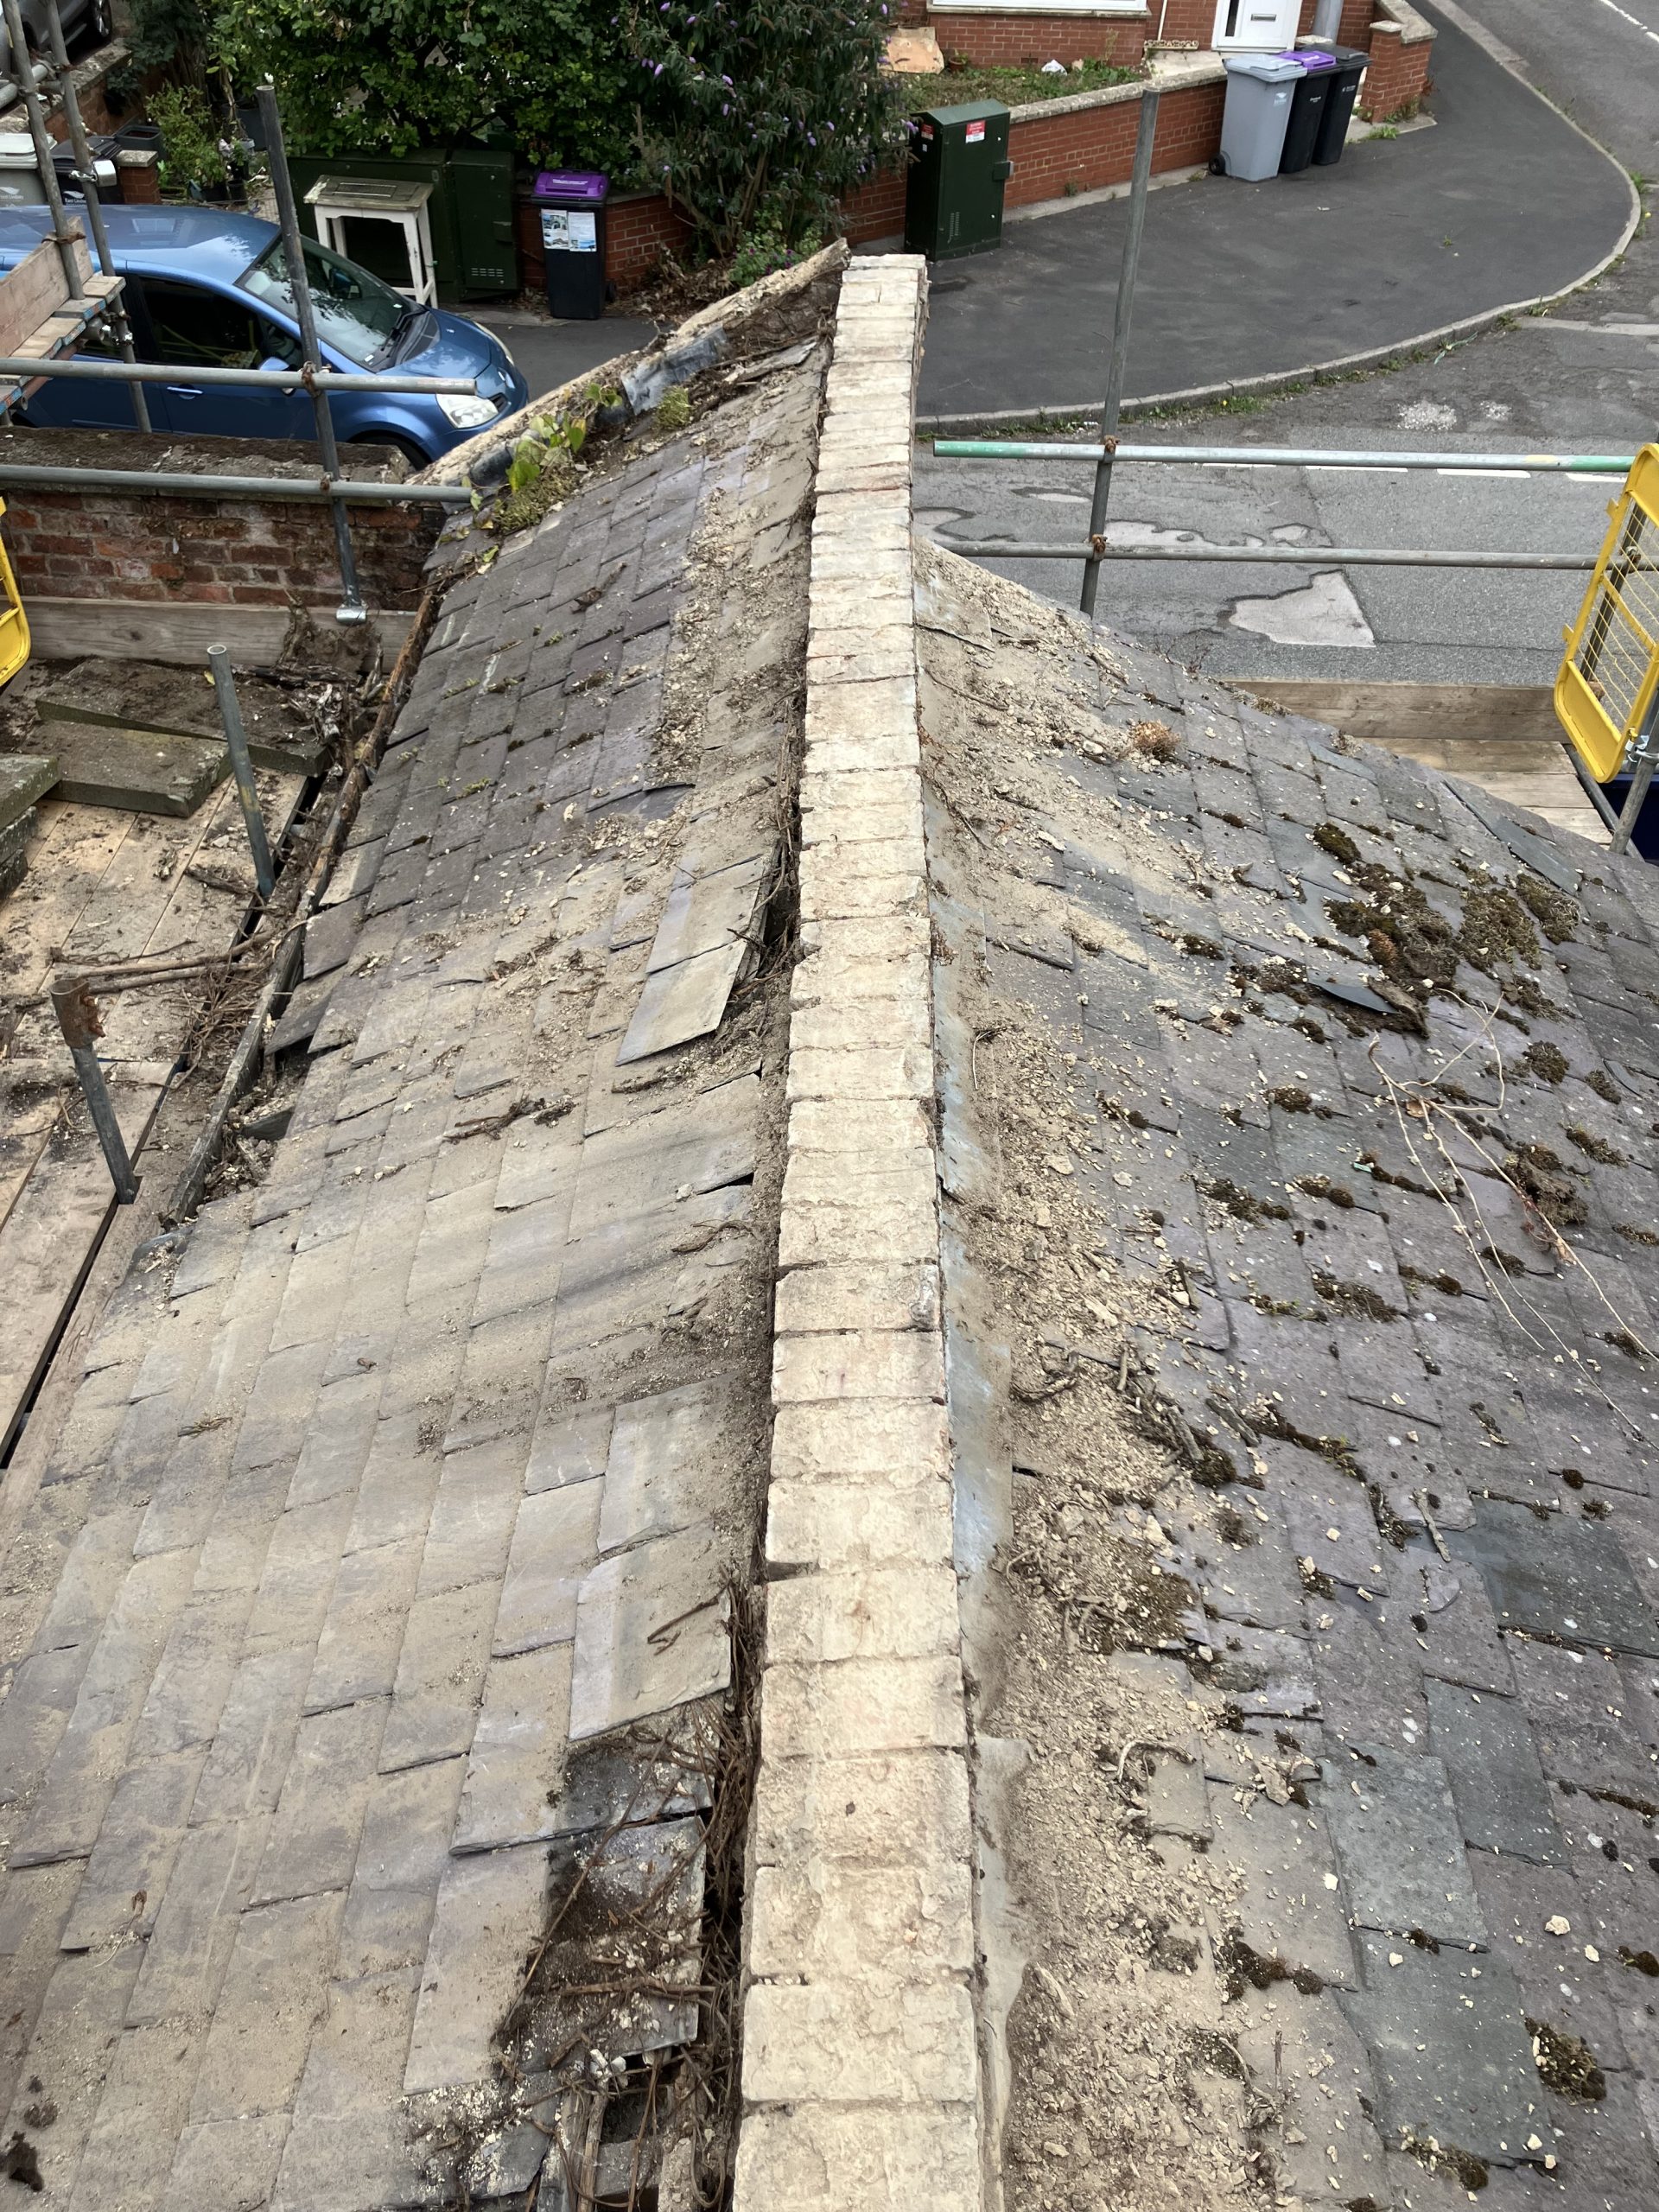
The timber components of a roof, such as rafters, purlins, and trusses, are essential for the structural integrity of the entire system. Damage often occurs due to water ingress, insect infestations (like woodworm), or fungal attacks (wet or dry rot). The repair process will depend on the extent and type of damage.
- Assessment and Safety:
- Inspection: A thorough inspection is crucial to determine the extent of the damage. This involves looking for signs of rot, cracks, splits, or sagging. Probing the wood with a screwdriver can help identify soft, rotten areas.
- Propping and Support: Before any work begins, the roof must be adequately supported. Acro props or other temporary structural supports are installed to take the load of the roof and any upper floors while damaged timbers are being worked on.
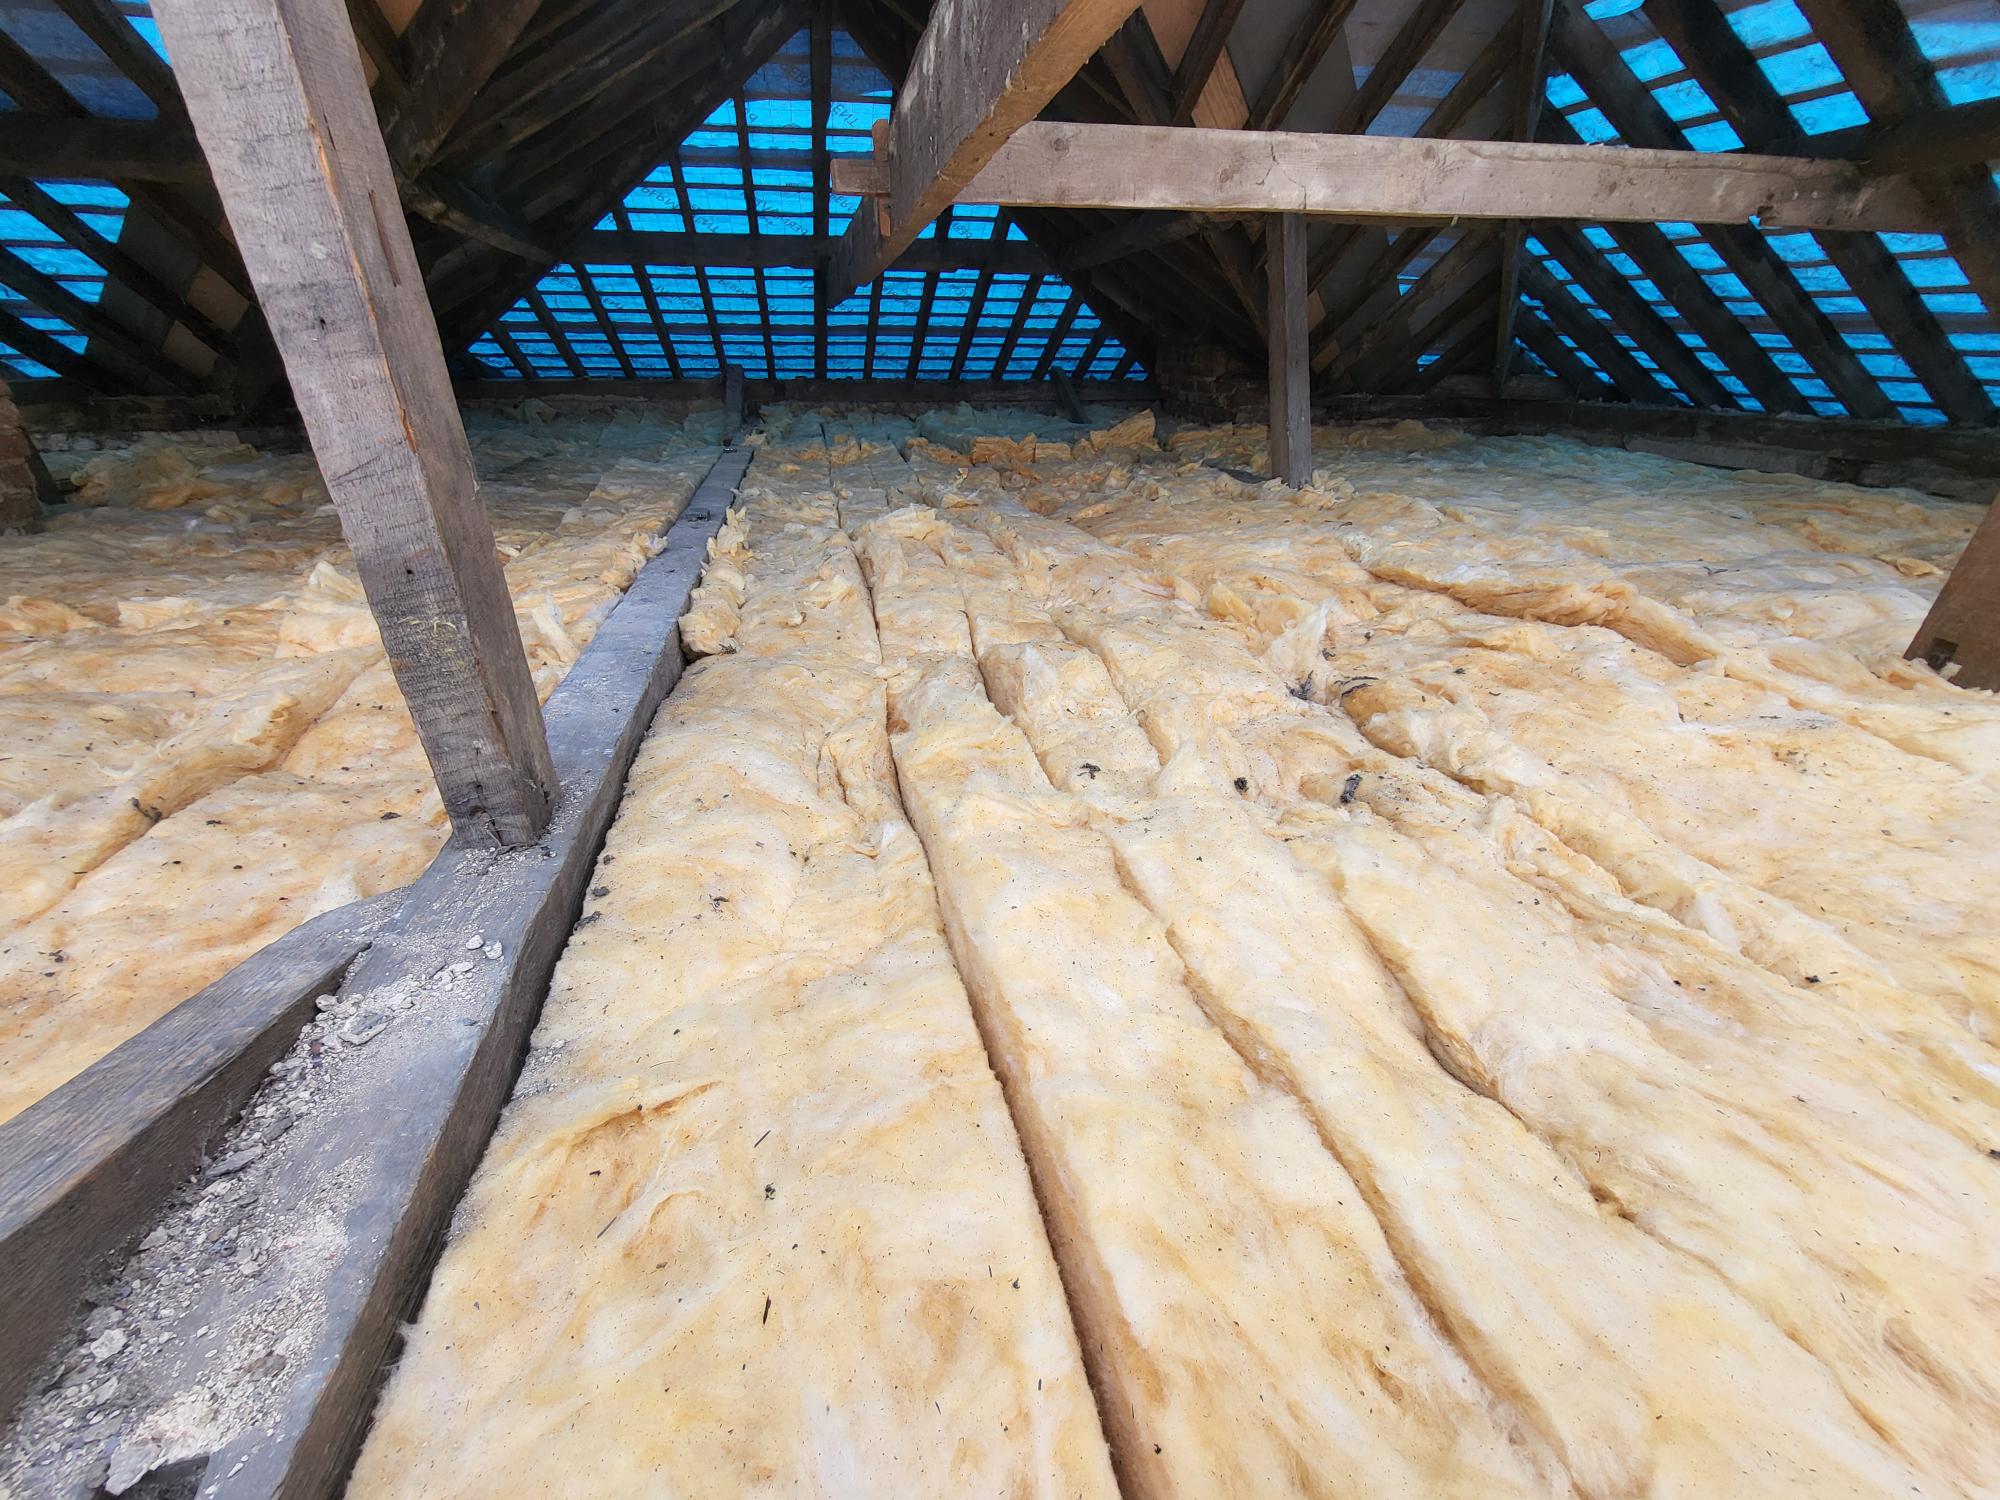
- Access: This stage often requires the removal of floorboards or loft insulation to access the full length of the affected timbers.
- Repair Methods:
- Like-for-Like Repair (Splicing): This is a traditional method, especially for historic buildings, where a damaged section of timber is cut out and a new, sound piece is spliced in. This is often done using a “scarfe joint,” where the new and old timber sections are cut with matching profiles and then joined together with stainless steel bolts or screws. This method preserves as much of the original timber as possible.
- Using Metal Plates: For certain types of damage, particularly a loss of a cross-sectional area, steel plates (known as “flitch plates”) can be inserted into the timber or bolted to the sides to reinforce it. This is a durable and effective solution.
- Full Replacement: If the timber component is beyond repair, it may need to be completely removed and replaced. This is the most extensive and costly option, but sometimes necessary for safety and structural stability.
- Preventative Measures:
- Once repairs are complete, it’s essential to address the source of the problem. This might involve improving ventilation, installing a damp-proof membrane where timber meets masonry, or treating the timber with a preservative.
Stage 2: Re-slating the Roof
Re-slating involves preparing the roof structure and then laying new slates to create a weatherproof covering. This process is often undertaken after timber repairs are completed, as the slates need to be removed to access the underlying structure.
- Preparation and Battening:
- Removal of Old Slates: The existing slates are carefully removed. A specialized tool called a “slate ripper” is used to remove the nails holding the slates in place without damaging the underlying roof battens. Reusable slates should be set aside.
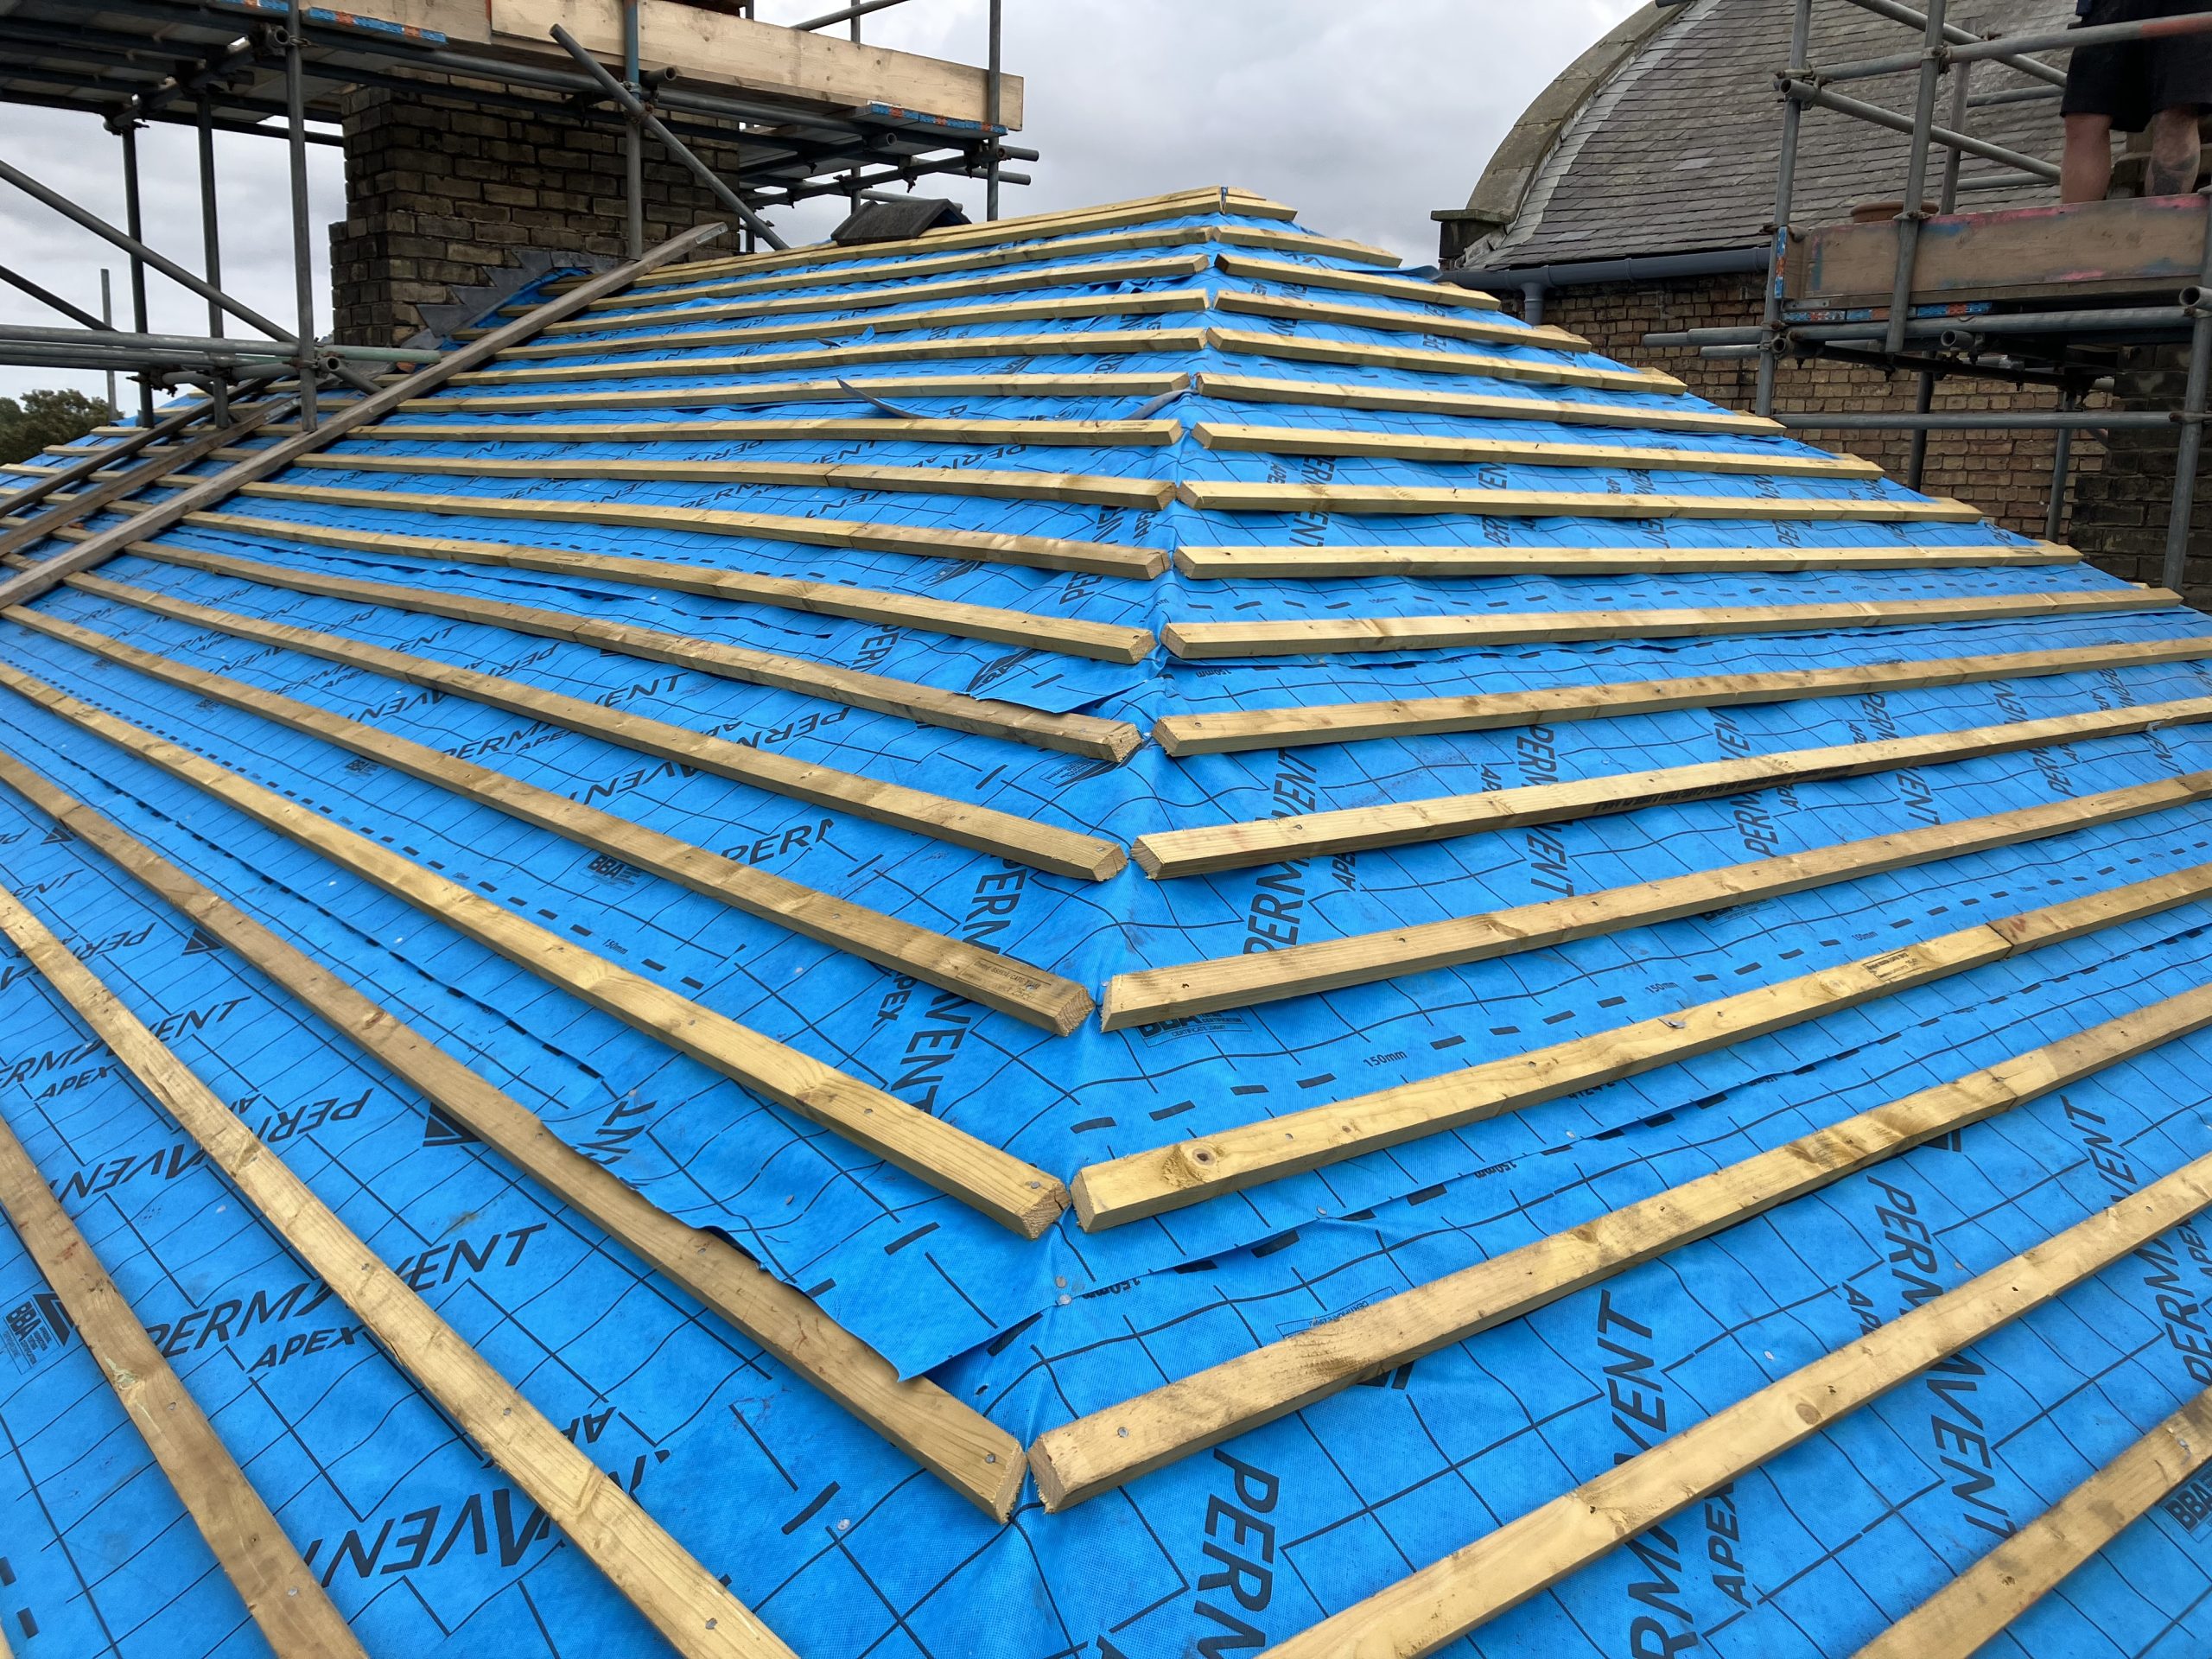
- Installing a New Underlay: A modern, breathable roof membrane (underlay) is rolled out over the rafters. This provides a secondary barrier against water and wind. It’s laid from the bottom of the roof upwards, with a slight overlap at the seams.
- Fixing Battens: The roof battens are the horizontal timber strips to which the slates are nailed. Their placement is critical and is determined by the “batten gauge,” which is calculated based on the size of the slates and the required overlap to ensure no water can penetrate. The battens are fixed securely to the rafters with galvanized nails.
- Laying the Slates:
- Starter Course (Eaves): The first row of slates, known as the eaves course, is laid at the bottom of the roof, with a slight overhang into the gutter. An “under-eaves” slate is also used to support the first full slate.
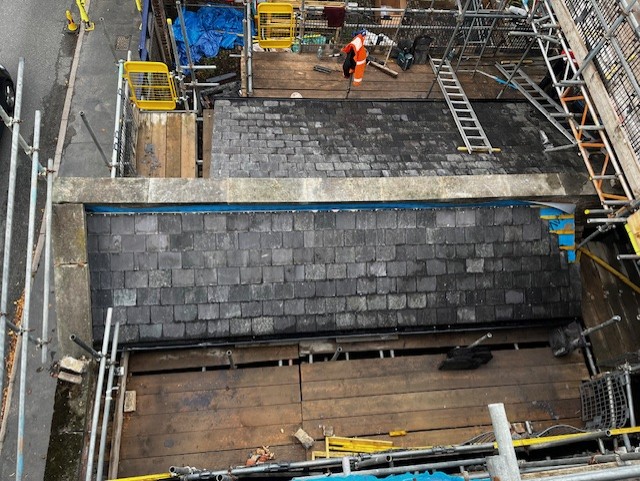
- Laying Main Courses: Slates are laid in courses, working from the bottom of the roof upwards and from one side to the other. Each slate is fixed to the batten with two nails, typically made of copper or aluminium.
- Overlapping: The most important aspect of slating is the overlap. Each slate must overlap the two slates below it to prevent water from penetrating through the joints. The batten gauge ensures this correct overlap.
- Cutting and Holing Slates: Slates must be cut and holed to fit around hips, valleys, chimneys, and other roof features. A slater’s hammer is traditionally used for holing, while a slate cutter or guillotine is used for cutting.
- Finishing Touches:
- Ridge Tiles: Once the main roof is slated, the ridge tiles are fitted at the peak of the roof. They are typically set in mortar and mechanically secret fixed to building regulations.
- Flashings: Lead soakers and flashings are installed where the roof meets a chimney, wall, or in a valley. This is a critical step to ensure a watertight seal.
- Verges: The edges of the roof (verges) are finished to protect the slates and battens from the weather, traditionally with mortar.
View the progress of the works below: